Tuesday, November 1, 2011

Pumpkin Pie with Fresh Pumpkin


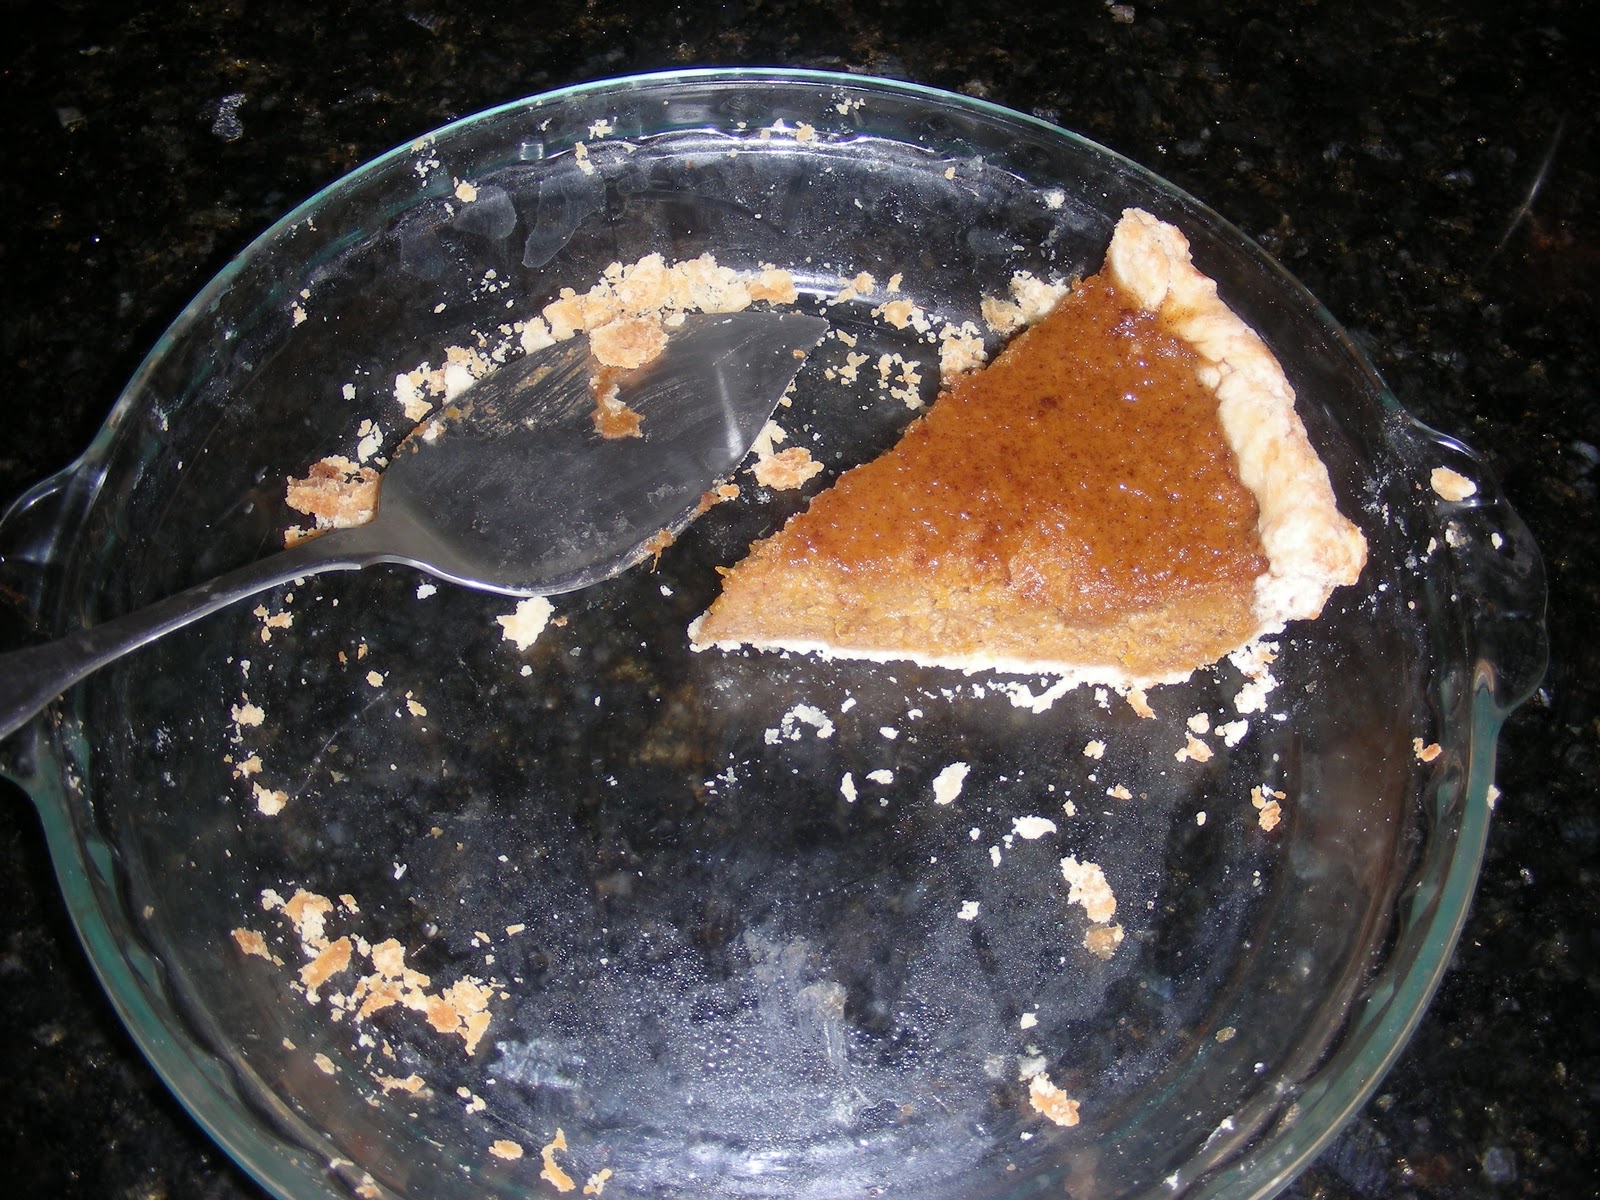
Apparently, nobody liked my pumpkin pie. Oh snap. Bazinga. They totally loved it. Which bolstered my self esteem in pie-related things after losing the pie contest at dessert club last month. I used fresh pumpkin from my recent pumpkin acquisitions. I also used a crisco pie crust instead of a butter pie crust, which was not only tastier, it was more cost effective.

The Pie Filling:

10 - 12 oz of fresh pumpkin flesh
10 - 12 oz of evaporated milk
1 cup packed brown sugar
2 eggs, plus one egg white
2 1/2 TSP pumpkin pie spice

1/2 tsp salt
1/2 TBSP vanilla
1 TBSP flour

The Pie Crust: for a "topless" single 9'' pie

1 1/4 cup white flour
1/2 cup crisco
1/2 tsp salt
1 tsp sugar
3 - 6 TBSP ice water

It takes an hour at 425 F to bake a small sugar pumpkin, so I would prepare it the night before. I would also prepare the pie crust the night before and leave it in the refrigerator. When you have the crust and filling assembled and ready to go, you want to cover it with foil to prevent the crust from burning. Then you bake it for 10 minutes at 450 F, then another 40 - 50 minutes at 350, or until the middle passes the toothpick test. I found I had to bake it for 50.


Directions for Pumpkin Filling:

Puree the pumpkin flesh in your blender on med-high for 5 minutes. You want to check it periodically to make sure to remove any strings that  don't seem to blend, or any seeds or rinds. Then you add everything else, and blend for another 3 - 5 minutes until the mixture is uniform.

Directions for Pie Crust: (Thank you, Crisco)


  1. 1.
    BLEND flour, salt and salt in medium mixing bowl.

  2. 2.
    CUT chilled shortening into 1/2-inch cubes. Cut in chilled shortening cubes into flour mixture, using a pastry blender, in an up and down chopping motion, until mixture resembles coarse crumbs with some small pea-sized pieces remaining.

  3. 3.
    SPRINKLE half the maximum recommended amount of ice cold water over the flour mixture. Using a fork, stir and draw flour from bottom of bowl to the top, distributing moisture evenly into flour. Press chunks down to bottom of bowl with fork. Add more water by the tablespoon, until dough is moist enough to hold together when pressed together.

  4. TIP
    Test dough for proper moistness by squeezing a marble-sized ball of dough in your hand. If it holds together firmly, do not add any additional water. If the dough crumbles, add more water by the tablespoonful, until dough is moist enough to form a smooth ball when pressed together.

  5. 4.
    SHAPE dough into a ball for single pie crust. Divide dough in two for double crust or double deep dish crust, one ball slightly larger than the other. Flatten ball(s) into 1/2-inch thick round disk(s).

  6. TIP
    For ease in rolling, wrap dough in plastic wrap. Chill for 30 minutes or up to 2 days.

Thursday, October 27, 2011

Pumpkin Bread that's Better than Mrs. X's

Mrs. X can bake some serious pumpkin items: pumpkin rolls, pumpkin bread, pumpkin pie, pumpkin cookies, etc. My husband's gold standard of pumpkin deliciousness is anything pumpkin by Mrs. X. I was determined after my recent pumpkin acquisitions to put her bread to shame. And according to my husband, I did; and he does not take pumpkin baking lightly. I can't rave enough about the texture and crumb of this bread. It isn't too heavy like so many other pumpkin breads. It's a happy medium, doesn't really crumble, but not too chewy, it melts in your mouth. You could probably bake it in a cake pan and put cream cheese frosting on it, and call it cake- but sleep well knowing you got antioxidants from the safflower oil and fiber from the fresh pumpkin and whole wheat flour. Sorry, Mrs. X. Your reign of all things pumpkin is over.


Recipe for a Single Loaf

The Wet Ingredients:

5 oz of fresh pumpkin puree
1/3 cup vegetable oil (I used safflower oil)
1/4 cup of water (I used the liquid that seeps from baking the pumpkin)
1 cup brown sugar
1/2 tbsp vanilla
1 egg

The Dry Ingredients:

1 1/4 cup of flour (I used half whole wheat and half high-gluten white flour)
3/4 tsp baking soda
1/2 tsp salt
1/4 tsp ground cinnamon
1/4 tsp ground nutmeg
1/8 tsp ground cloves
1/8 tsp ground ginger

SIDE NOTE: I did a test loaf using sour cream as a substitute for the oil, and while it was very moist, the crust was not as caramelized as when using oil.

Preheat your oven to 350 degrees F.

Grab a bread pan, butter or PAM the sides.

Take 2 mixing bowls: one for wet and one for dry ingredients.

Whisk together the dry ingredients thoroughly to ensure uniform distribution of spices and salts.

Use a hand mixer to blend the wet ingredients on medium high for 5 minutes or until uniform.

Add the dry ingredients to the wet ingredients, and stir with a wooden spoon, making sure the flour settles.

Beat on med high for 2 minutes.

Empty dough into bread pan.

Bake for 40 - 50 minutes, or until the bread passes the toothpick test.

Saturday, October 15, 2011

Southern Comfort Corn Bread (sans whiskey)

Note: No Southern Comfort in the form of whiskey was involved in the making of this recipe. I suppose it's comfort food on the account of the butter, honey and sugar paired with a vegetable. Anyhow, it is something wonderful. 


Tomorrow I am cooking up a storm: pork tenderloin roast with an herbal rub from our garden, corn muffins, sweet potatoes, a multi-berry gelatin dessert, and green beans a-la-Bethany (my friend who brought them to dinner  few months ago). If the pork ends up as good as I anticipate, I'll post that too.  But on to the corn muffins of amazingness.

Ingredients:

WET
1/2 cup of butter (1 stick) softened
2/3 cup of sugar (I used brown sugar splenda combo)
1/4 cup of honey
1/2 cup of milk
2 eggs

DRY
1/2 TSP salt
1/2 TSP baking powder
1 1/2 cups flour (I used our high-gluten bread flour)
3/4 cup yellow corn meal or masa

FOLD IN
3/4 cup frozen corn kernels (but I used drained canned corn)

Directions:

Fire up your oven to 400 degrees F. Line a muffin pan or grease it up with PAM or your favorite alternative cooking spray. Get out 2 bowls, one larger than the other. The larger one is for the wet ingredients. The smaller is for the dry.

Add all your wet ingredients into the larger bowl. Note that sugar goes in among the wet ingredients. Beat it with your mixer until the mixture is uniform. Now put all the dry ingredients into the smaller bowl. Give the dry ingredients a few whisks to make sure the salt and baking powder get evenly distributed. 

With your beaters on medium high, slowly add your dry ingredients to the wet, and beat for 2 minutes or until mixture is uniform. Fold in the corn, and keep folding it into the dough until evenly distributed. Spoon up the dough into your muffin tin, bake for 22 minutes (plus or minus 2 minutes) or until it passes the good ole toothpick test.

Pour yourself an ice cold glass of milk, and enjoy a warm corn muffin with some honey drizzle. MMMM!


Wednesday, October 5, 2011

Wednesday: Asian Cuisine: Cashew Chicken

I crave chinese food so intensely this pregnancy. To reduce our take-out expenses, I am learning to make it: which is somewhat cumbersome. I have never been good at Asian food outside of your mandarin chicken salad with crunchy wonton noodles. So I did some reading, I procured some oyster sauce, which is made from oysters, and went at it. The results were fantastic-- tasted even better than the restaurant cashew chicken, probably because I swapped the bell peppers out for sugar snap peas.


Ingredients:

For the Wok:
2 boneless skinless chicken breasts, cubed
1 cup cashews
20 oz frozen sugar snap peas, thawed
1/4 TSP minced garlic
1 yellow onion, sliced stir-fry style
Red pepper flakes (for those who need a kick)

For the Sauce:
1/2 TSP cornstarch
2 TSP soy sauce
1/8 TSP ground ginger
1 TBSP oyster sauce
6 TBSP water
1/8 TSP white pepper
1 TSP white sugar
1 TSP rice vinegar
1/2 TSP sesame oil
A pinch of salt (to taste)

Random Prep Ingredients:
1 TSP baking soda
1 TSP rice vinegar
1/2 TSP cornstarch

Begin by placing your cubed chicken in a medium sized bowl. Add the baking soda, and use your hands to coat that chicken as best as you can-- it's really gross, but you'll thank me later. Let the baking soda'ed chicken sit for 15 minutes, then rinse the chicken thoroughly with water to get rid of the soda-- it took me 2 times to wash it off. Leave the chicken in that bowl and add the vinegar, let it sit for  minutes, then add the 1/2 TSP cornstarch. Work it evenly on the chicken. Mix the sauce ingredients in a separate bowl, whisk for a few minutes to dissolve cornstarch.

Heat up your wok with 1 TBSP of oil. When oil is hot, add the chicken, and cook until it's barely white, then flip it over with a spatula. Cook the other side until it is barely white, then remove the semi-cooked chicken and place it directly into the bowl with your sauce.

Add a touch more sesame oil to your wok, and sautee the onions and minced garlic until they are growing clear and fragrant. This takes maybe 5 minutes on high heat, turning them over a few times. Then add the chicken/sauce to the wok. Bring the sauce/chicken mixture to a "boil" then reduce to simmer for 15 minutes. After the 15 minutes, toss in the snap peas. Heat for another few more minutes, then add your cashews. Serve with basmati or jasmine rice. I lightly fried mine with an egg. I also sprinkled on some red pepper flakes because I wanted a bit more kick.

Monday, October 3, 2011

Fajita Quesadillas

This is not your Napoleon Dynamite quesadilla. This is the real deal: crisp, savory, melty, with a kick of fajita spice. What really makes this dish is the Mojo marinade. It's typically found in the Latin section of your grocery store, but you may have to visit a hole-in-the-wall latin grocer to procure it, based on your region.


Ingredients:

Large white tortillas
Mexican cheese blend
2 large boneless skinless chicken breasts, sliced
Half of a yellow onion, sliced
Mixed sweet or bell peppers, sliced
Mojo criollo marinade
Sour cream and salsa for serving

Directions:

Take sliced onions, peppers and chicken and put them in a ziploc bag with the marinade. Let them marinate for as long as you want-- I usually do this in the morning. Fire up your grill or broiler, and broil the marinated meat and vegetables until chicken is cooked, and vegetables have turned brown/black in some spots. Do not over broil. I used the broiler in my oven, and after it was finished, I turned it to bake mode, and stuck my pizza stone in there.


Assemble your quesadilla on a pizza stone or gridle. Cover half of the circle with your mexican cheese and the fajita mix. Cook it until all the cheese has melted, but is not super bubbly. Immediately fold the naked part of the tortilla over the cheesy part. You can then broil or grill both sides to your desired crispness-- but watch it so it doesn't burn! Serve with sour cream, guacamole and salsa.


Viva la quesadilla en mi estomago.

Thursday, September 29, 2011

Something is Stewing

I don't really have any witty or insightful comments regarding this recipe. I am cleaning out my fridge/freezer, and happened to have the necessary ingredients. Couple this with the weekend forecast of highs below 60 and my sudden energy this morning, and that's how the stew was made. Actually, the stew was really made by the directions below. . . .


HOMESTYLE STEW

Ingredients:
2 lbs of cubed beef
6 - 8 red potatoes, or 2 - 3 large russet potatoes
1 stalk of celery, chopped including the leafy parts
1 large onion, diced
2 - 3 cups of chopped carrots
1 quart tomato juice
1 quart water
2 beef bouillon cubes
1/2 TBSP black pepper
1 TSP hungarian paprika, but regular paprika will do
1 TSP thyme
2 bay leaves
3 TBSP worcestershire sauce

Directions:
Stick all the ingredients into a crockpot. Cook on low for 6 - 8 hours. Enjoy.

Wednesday, September 28, 2011

Dirty Blondes or Nutella Blondies

I don't usually bake goodies or treats since I have a husband with little self-control. One time when we were in Istanbul, he ate a pound of baklava by himself. Anyhow, I also don't want to gain 50 lbs this pregnancy, so I have a once-a-week quota for ice cream or other substitute. 


This recipe is not my own, but it comes from a seasoned dessert master: Kari Hickman, leader of the notorious dessert club, published dessert author, mother of 3, and my friend.  I perform a few variations, which in my humble opinion, make it more scrumptious, but the link to the original recipe is
http://virtualgoodyplate.blogspot.com/search/label/Nutella.


1/2 stick unsalted butter or butter flavored crisco
2 cups all-purpose flour
2 tsp baking powder
1 tsp salt
1 3/4 cups packed light brown sugar
2 large eggs
2 tsp vanilla extract
2 TBSP cocoa
1/3 cup hazelnuts
Plenty of Nutella


Preheat oven to 350. Butter an 8x11 inch baking pan. Line with parchment paper; butter parchment. Get nuts toasting on a baking sheet - watch closely - just until fragrant, a few minutes.

Melt butter. Beat butter and sugar until combined.

In a separate bowl, whisk flour, baking powder and salt. Set half of the whisked mixture into a separate bowl, then add the dry cocoa to one of the bowls and whisk again. You should have one bowl with a white flour mixture, and a second with a cocoa'ed mixture. 

Beat eggs and vanilla into butter mixture. Once mixture is homogenous, put half of it into the bowl with the cocoa'ed flour, and the other half into the non-cocoa'ed flour mixture; stir just until combined. 

Add two heaping spoonfuls of Nutella to the cocoa'ed mixture. Stir in as best as you can. 

Place the batters into the pan a spoonful at time, alternating a scoop of the dark batter with a scoop of the light batter. You have to kind of press it into the pan. Once you've got all the batter in the pan, zap some nutella in the microwave for 15 seconds so it's more liquidy. Then use a spoon to create lovely swirls of Nutella atop your treats. Sprinkle nuts on top. 

Bake for 25 minutes, and let cool for 15 minutes before cutting. 

This is Kari's picture of her world-famous blondies. 


Some of my girlfriends from a mothers' group were the lucky partakers, but Allen ate most of them for breakfast and then took the rest to work.